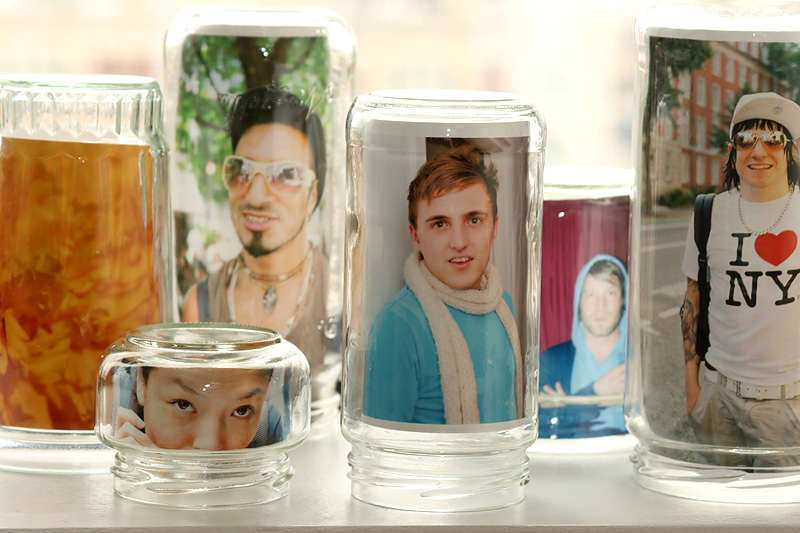
Glass Jar Photo Frames
Jars, Jars, Jars! We always have them and never know what to do with them! But now there is a create way to recycle and enjoy those jars. This look would be awesome in a shabby or country styled home! Simply take a photo slip it into the jar, turn that jar upside down...and voila, you have an adorable and unique frame idea!

What You’ll Need
- A clean, clear jar (free of labels)
- Photos
- Ruler
- X-acto knife or scissors
- Pencil (optional)
Step 1:
Measure how tall your jar is. If needed, trim the height of your photo to fit the jar (i.e. a 4‚6‚ photo will be too tall to fit in a 3 inch jar).
Step 2:
Roll up the photo slightly and slide it into the jar so that the photo will be right-side-up when the jar is upside-down. Poke it into place with your fingers or the eraser end of a pencil.
Step 3:
Turn the jar upside down and display your simple thrifty genius in a place of honor!
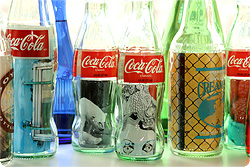
Bottles: The Next Level

Bottles work just as well as jars, but they’re a little trickier. The photo won't be able to unroll any further than the narrowest part of the bottle. There two ways to deal with that:
- Pick a photo that looks good when it's only an inch wide, or
- make your photo no taller than the widest part of the bottle.
To use a bottle, roll up your photo tight enough to slip through the opening of the bottle. Slip the photo in right-side-up and maneuver it into place using the eraser end of a pencil.
More Ideas
- If you have (or know somebody who has) a bottle cutter, try cutting a bottle in half and using the bottom half just like a jar.
- Mix different sizes of bottles and jars, and line your windowsill with them.
- Use beakers or test tubes to add for that “Mad Scientist” flair!
Another great DIY photo project from the cool group over at Photojo!